Why Should You Make Your Own Advent Calendar?
Store-bought advent calendars might be convenient, but have you considered creating your own?
A DIY advent calendar offers so much more than just a daily countdown to Christmas. When you craft your own calendar, you’re not just making a decoration – you’re creating a vessel for memories, experiences, and personalized surprises that truly reflect your family’s traditions and values.
Did You Know? The tradition of advent calendars dates back to the mid-19th century, when German Lutherans began counting down the days to Christmas by marking chalk lines on doors or lighting candles.
Before You Start: Planning Tips
Success in crafting your advent calendar starts with good planning. Consider these key factors:
Space Considerations
- Where will you display the calendar?
- How much wall/floor/table space is available?
- What size should each compartment be to fit your planned fillings?
Theme Selection
- Traditional red and green
- Winter wonderland whites and blues
- Modern minimalist
- Rustic natural
- Scandinavian style
Time Management
- Set aside adequate crafting time
- Plan for drying time if using paint or glue
- Consider making it over several sessions
Time-Saving Tip: Create an assembly line system when making multiple identical pieces, like numbered tags or containers.
9 Creative DIY Advent Calendar Ideas
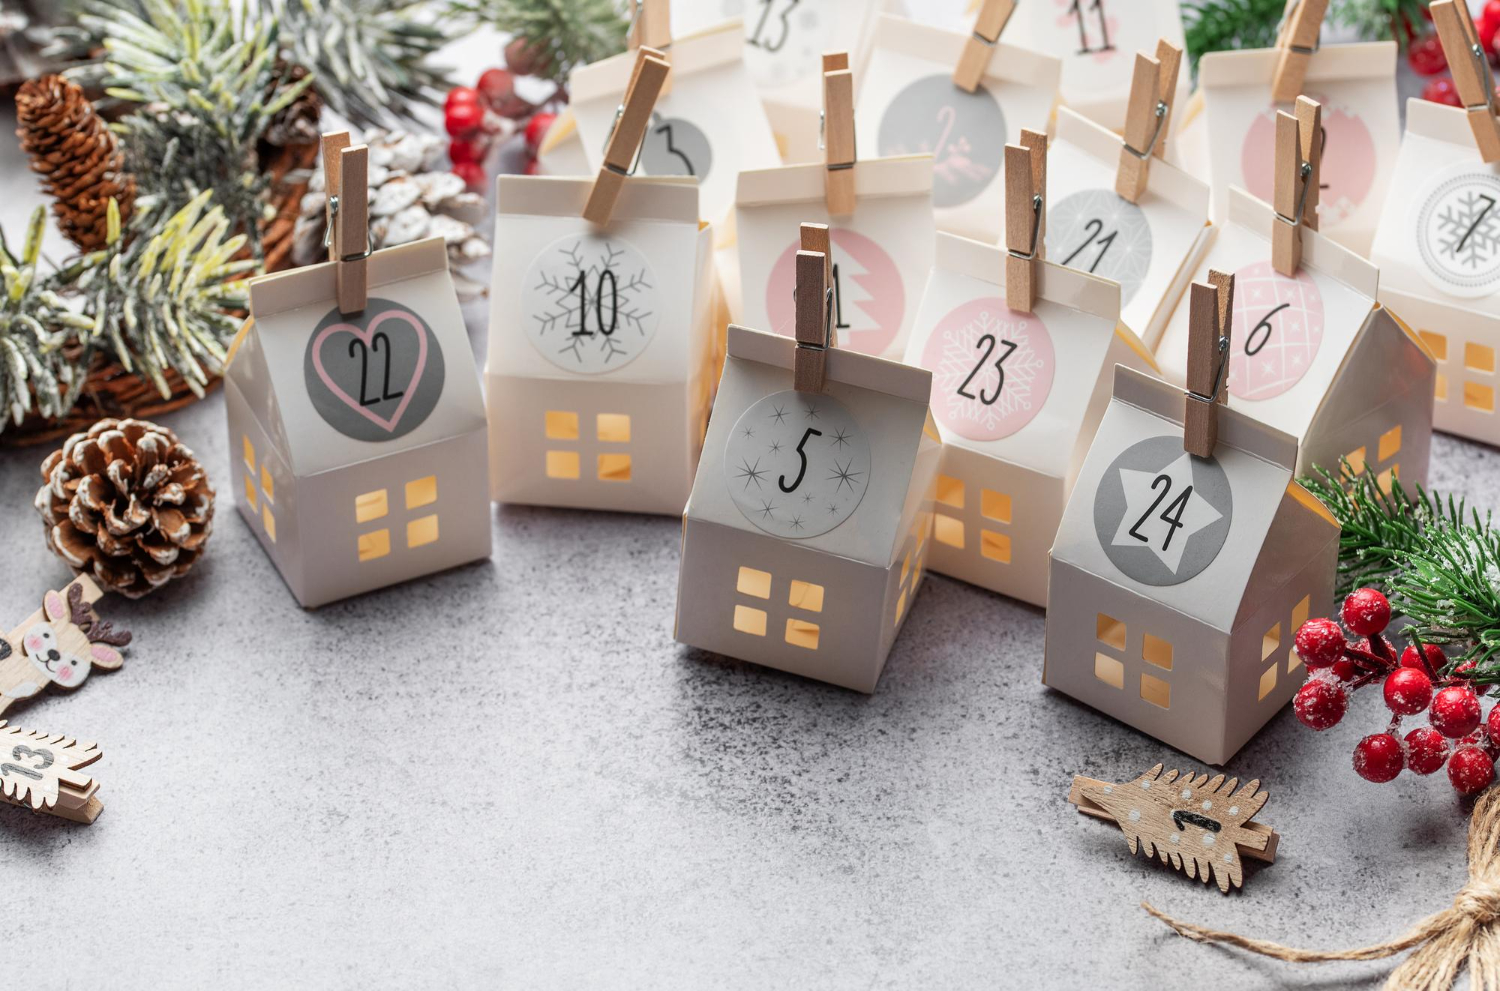
1. Paper Bag Village
Transform simple kraft paper bags into a charming Christmas village scene. This option is perfect for beginners and offers plenty of room for creativity.
Materials Needed:
- 24 small kraft paper bags
- White paint pen
- String lights (optional)
- Decorative paper for roofs
- Number stickers
Instructions:
- Arrange bags in a village formation
- Create roof shapes with decorative paper
- Add windows and doors with paint pen
- Number each house
- Add optional lighting behind the display
Your village can be as basic or elaborate as your creativity desires. You could use a mixture of differnet colors and sizes of bags to make the Christmas village scene more varied.
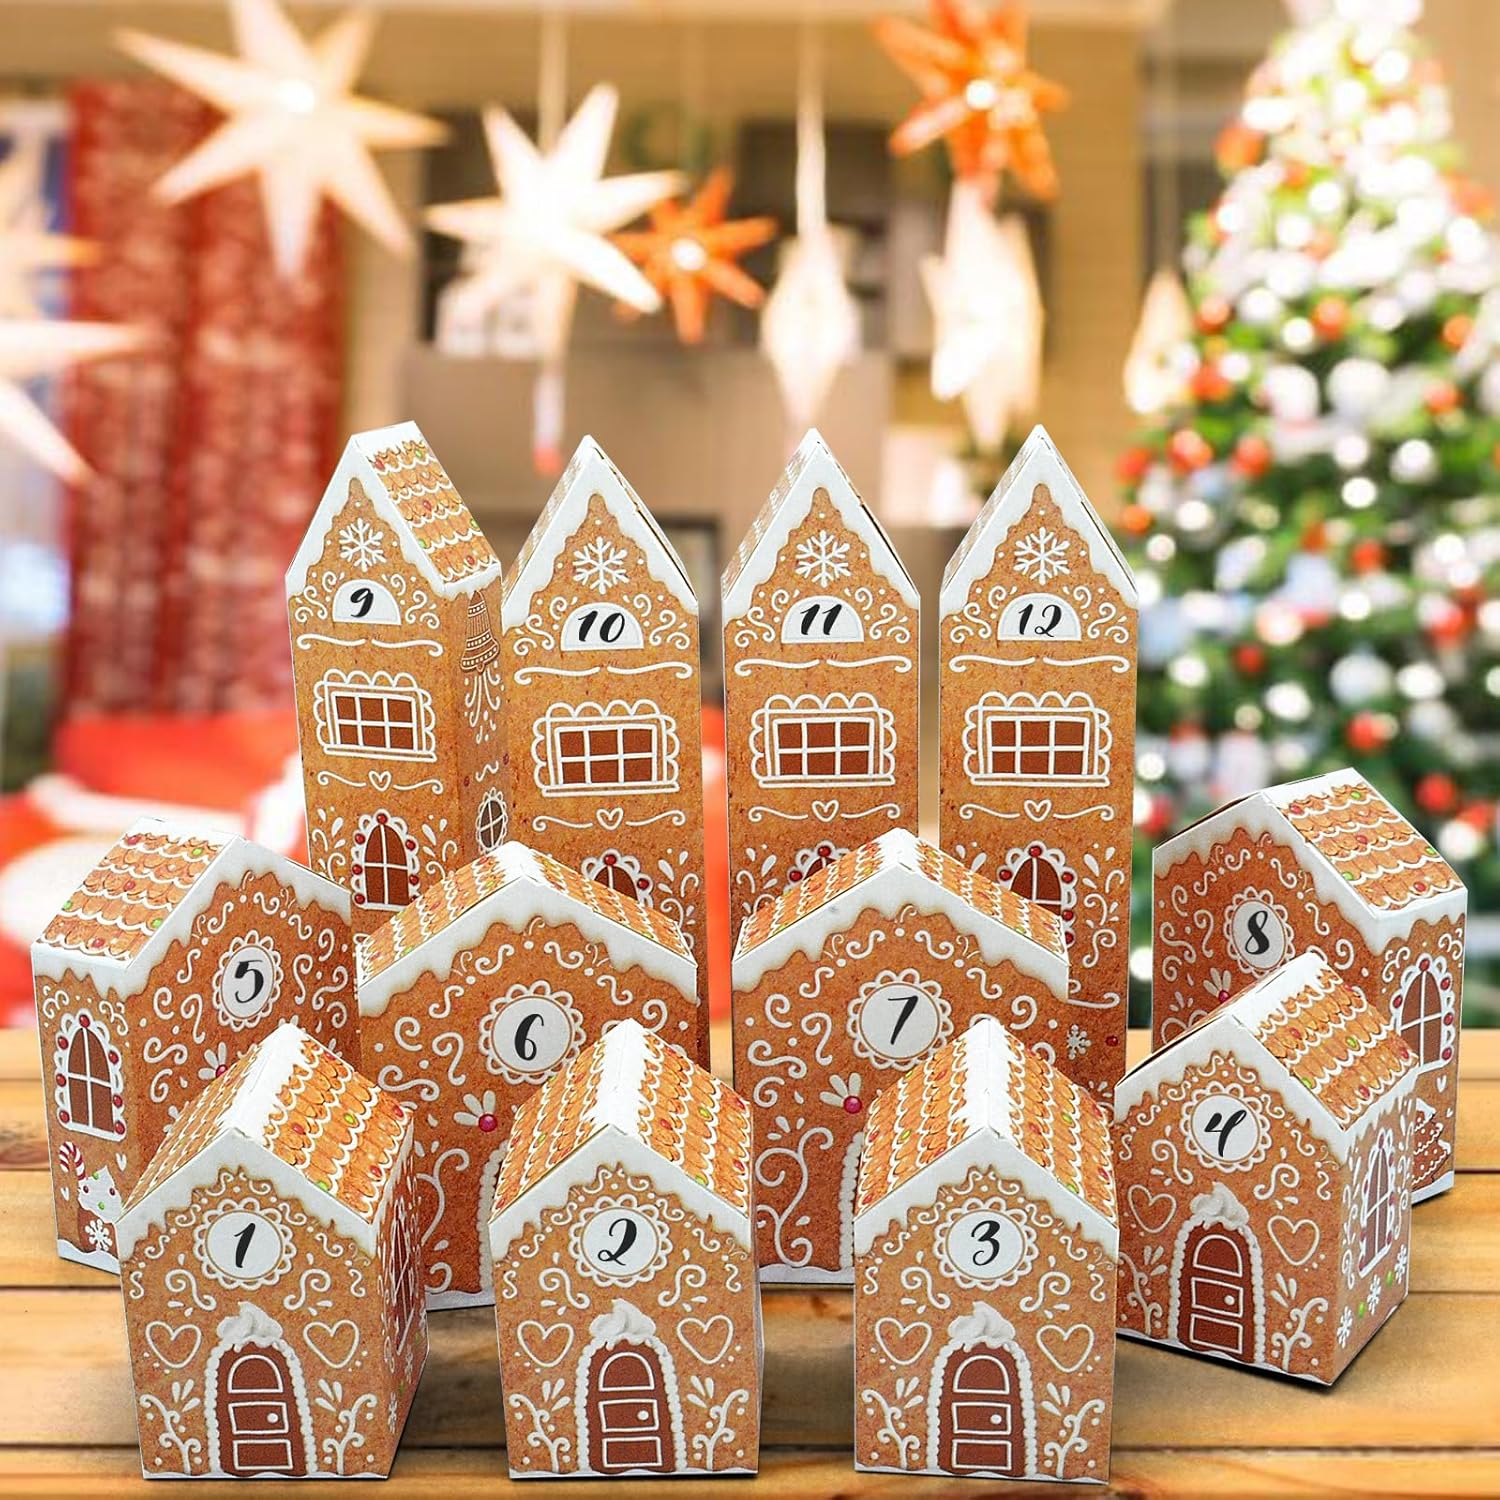
If you are pushed for time but like this idea, you can buy the following advent village and focus your energy on curating the best fillings for each box.
Display Tip: Secure bags to a large backing board to maintain your village layout.

2. Envelope Christmas Tree
Create a wall-mounted tree using decorated envelopes. This space-saving design makes a stunning visual impact.
Materials Needed:
- 24 colorful envelopes
- Command strips or pins
- Number tags
- Ribbon or string
- Star topper
Assembly Guide:
- Arrange envelopes in a triangle tree shape
- Secure to wall starting from bottom row
- Add numbered tags
- Connect with ribbon garland
- Top with star decoration
If you don’t want to attach the envelopes directly to the wall you could use a large cork board and pin the envelopes instead.
If you want to go down the rustic route with a pre-configured hanging tree shape complete with star, you can purchase a Wooden Christmas Hanging Decoration like this one and then hang your own decorated envelopes from the branches.
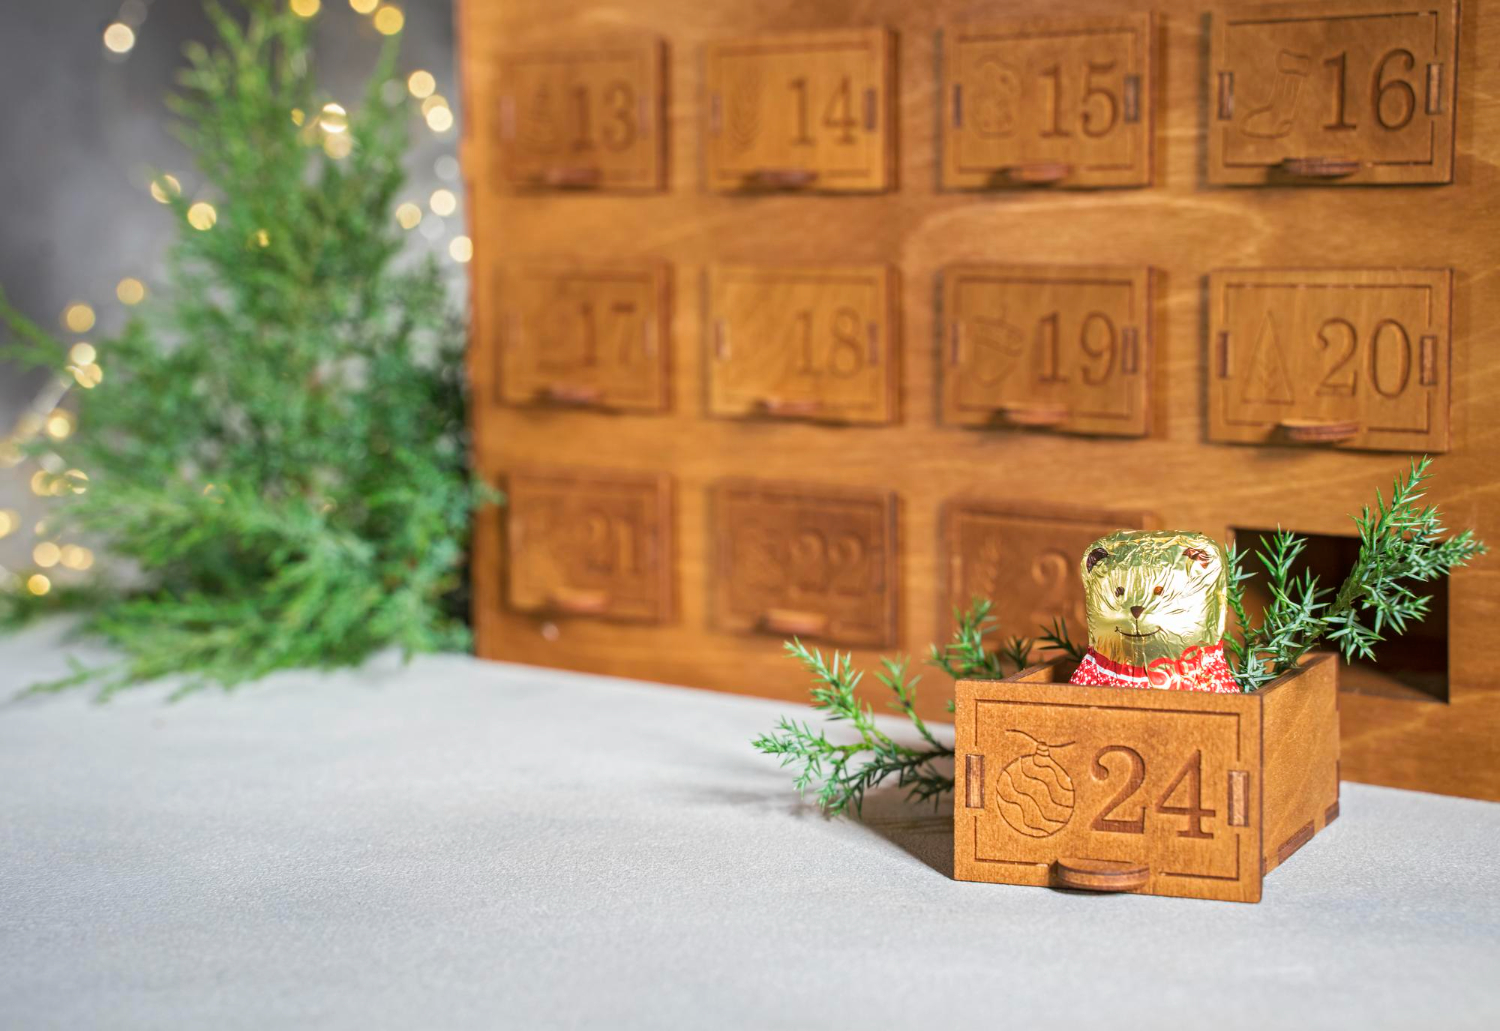
3. Woodland Wonder Box Calendar
Bring nature indoors with this rustic-themed calendar using wooden boxes.
Materials Needed:
- 24 small wooden boxes
- Pine cones and twigs
- Moss
- Natural twine
- Wood stain or paint
Construction Steps:
- Sand and finish boxes
- Create arrangement pattern
- Add natural decorations
- Number with wood-burned or painted numbers
- Secure together or to backing
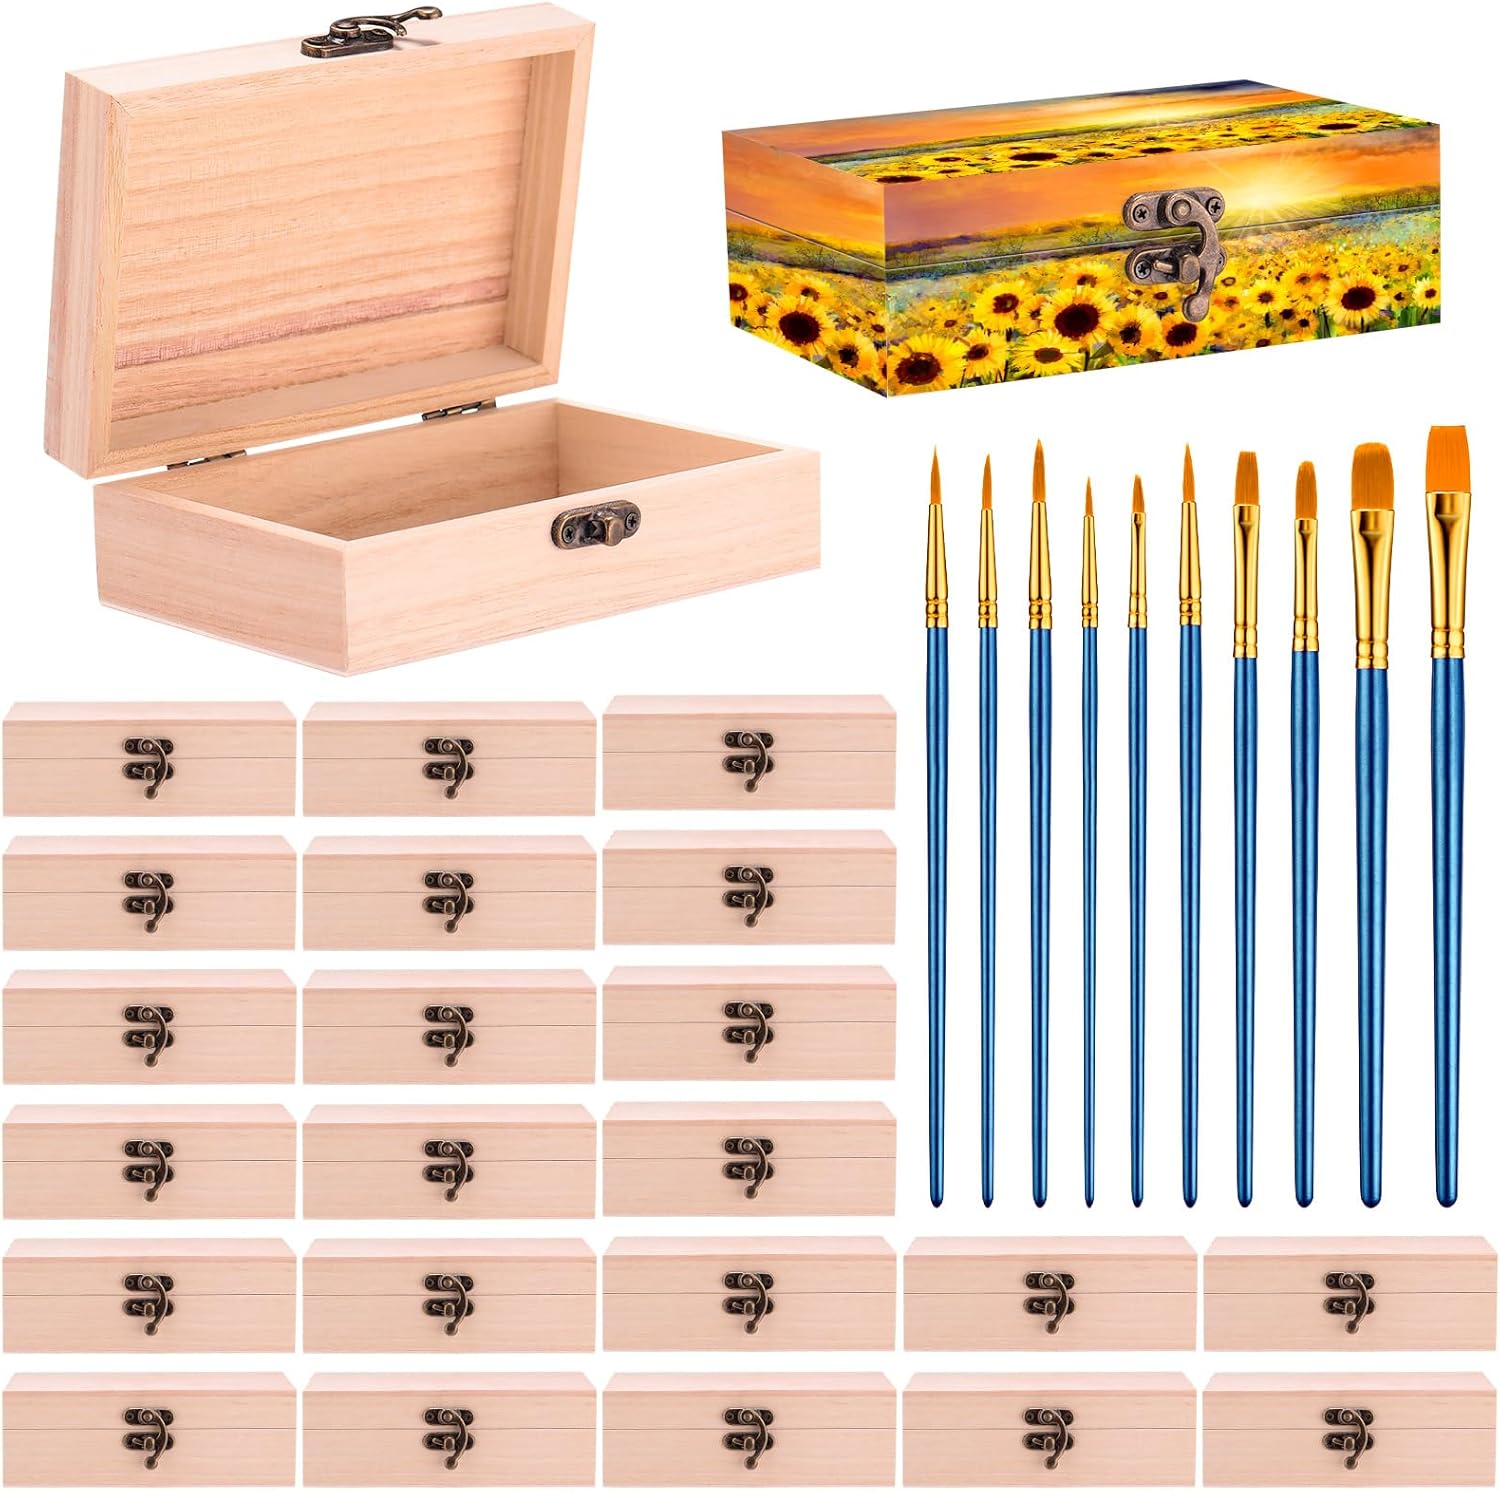
If creating the boxes yourself seems daunting, there is the option to purchase individual boxes or a single wooden unit and then you can focus on the filling and decoration.

4. Miniature Stocking Gallery
Create a charming display of tiny stockings that brings classic Christmas charm to your countdown.
Materials Needed:
- 24 mini stockings (felt or fabric)
- Decorative curtain rod or branch
- Stocking hangers or clips
- Embellishments
- Number tags
Key Features:
- Choose complementary fabric patterns
- Mix textures for visual interest
- Use different hanging heights
- Add personalized touches
- Include pocket reinforcement for heavier items
Let your creativity flow: If you have the skills, you could be extra creative and create the mini stockings yourself from scraps of fabric.

5. Book Page Pyramid Boxes
Give old books new life with this literary-inspired advent calendar. Perfect for book lovers and eco-conscious crafters.
Materials Needed:
- Old book pages (or printed paper)
- Cardboard bases
- Number stamps
- Clear sealant
Construction Steps:
- Create pyramid box templates
- Cover with book pages
- Seal for durability
- Add numbers creatively
- Arrange in tree formation
Creative Idea: If you want a more colorful display but want to stay eco-friendly, you can use scraps of old wrapping paper to cover the boxes.

6. Mason Jar Winter Scene
Transform ordinary mason jars into magical winter wonderlands that light up your holiday countdown.
Materials Needed:
- 24 small mason jars
- Battery-operated tea lights
- Fake snow
- Miniature trees/figures
- Metallic spray paint for lids
Creation Process:
- Clean and prep jars
- Create mini scenes
- Add lighting elements
- Number the lids
- Arrange on tiered display
This advent setup could work without fillings and act purely as a count down to Christmas. Alternatively you could fill each of the jars with a small gift and when your child gets the gift, they replace it with one of the tea lights.
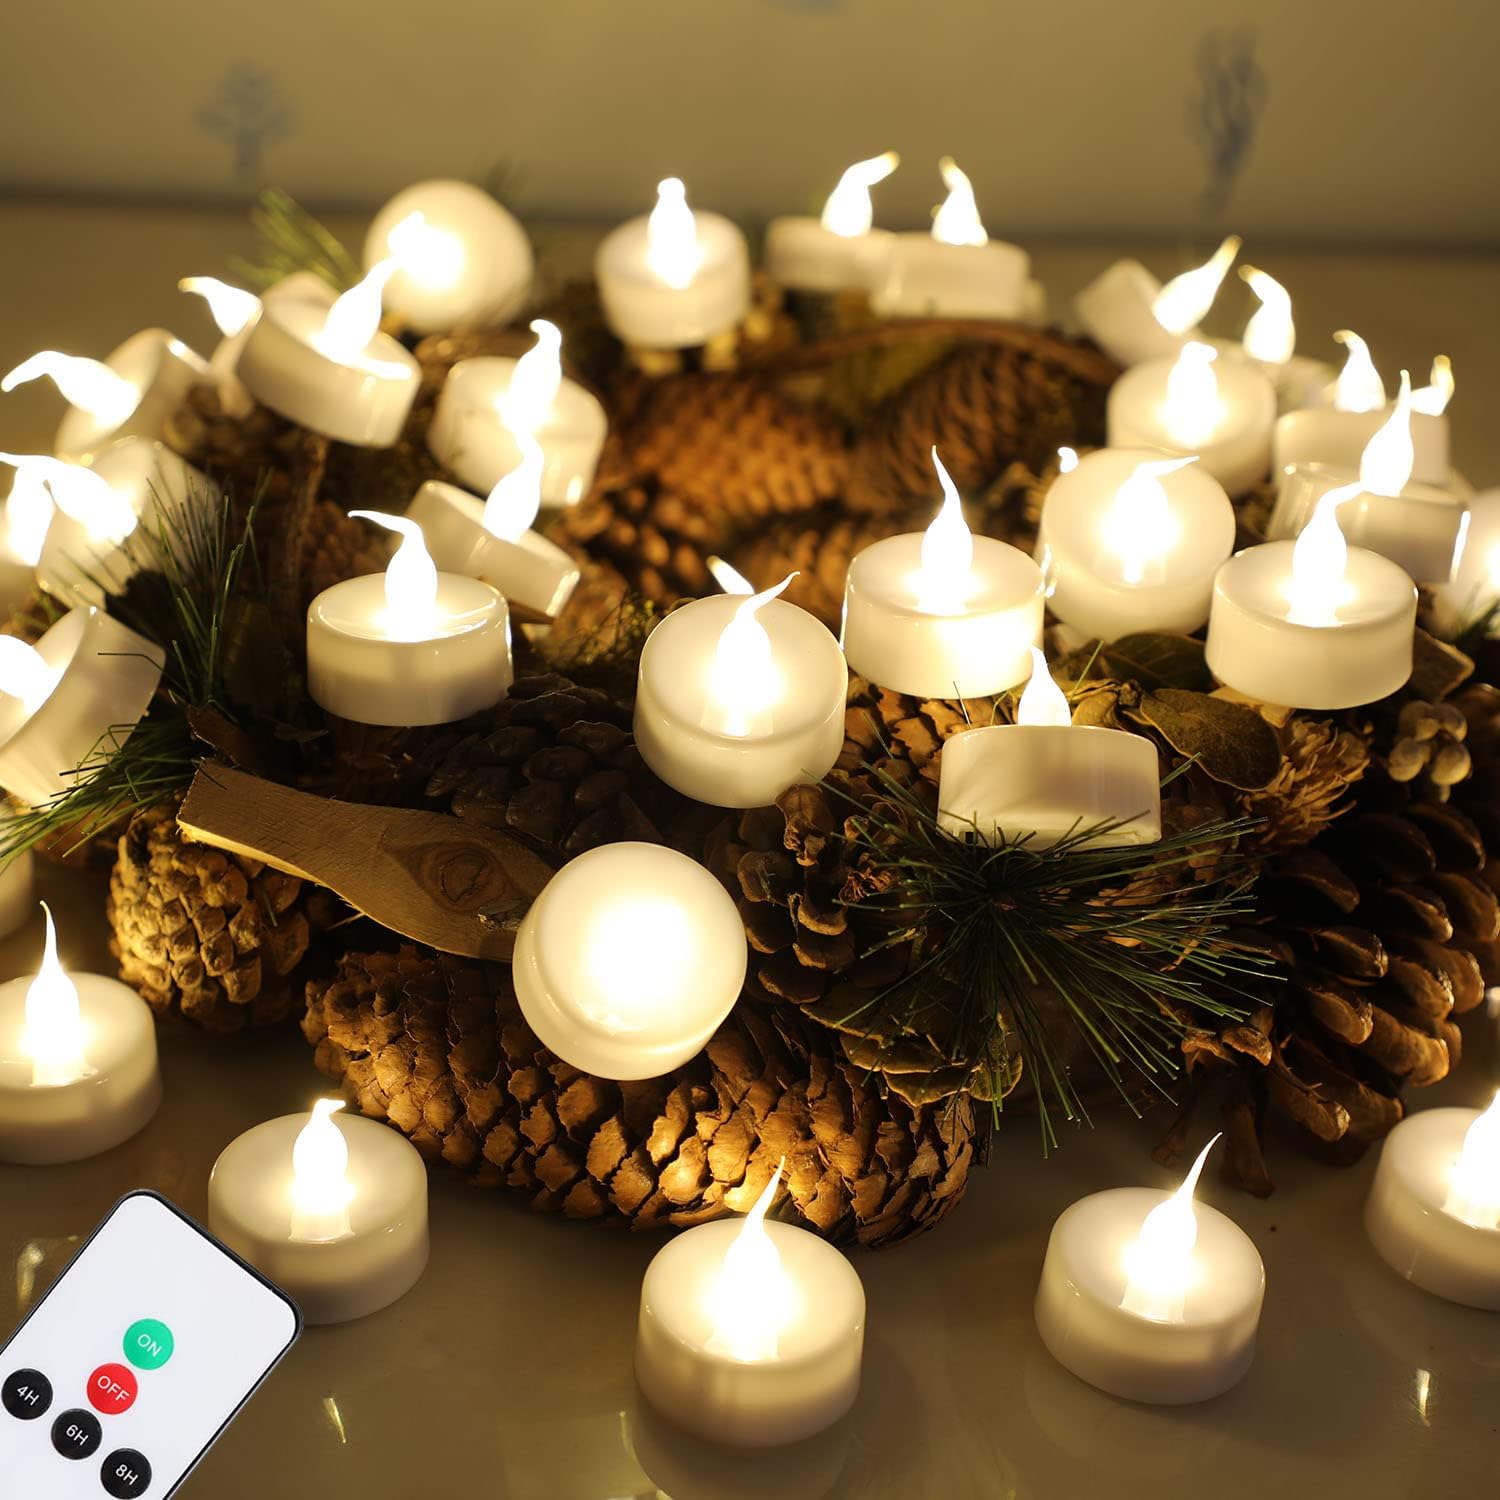
If you are concerned about the tea light batteries lasting through the month or want to be able to switch them all off an on without having to deal with each jar, we suggest going for a set of tea lights with a timer and remote such as these.
Lighting Tip: Use warm white LED lights for a cozy glow that won’t heat up the jars.
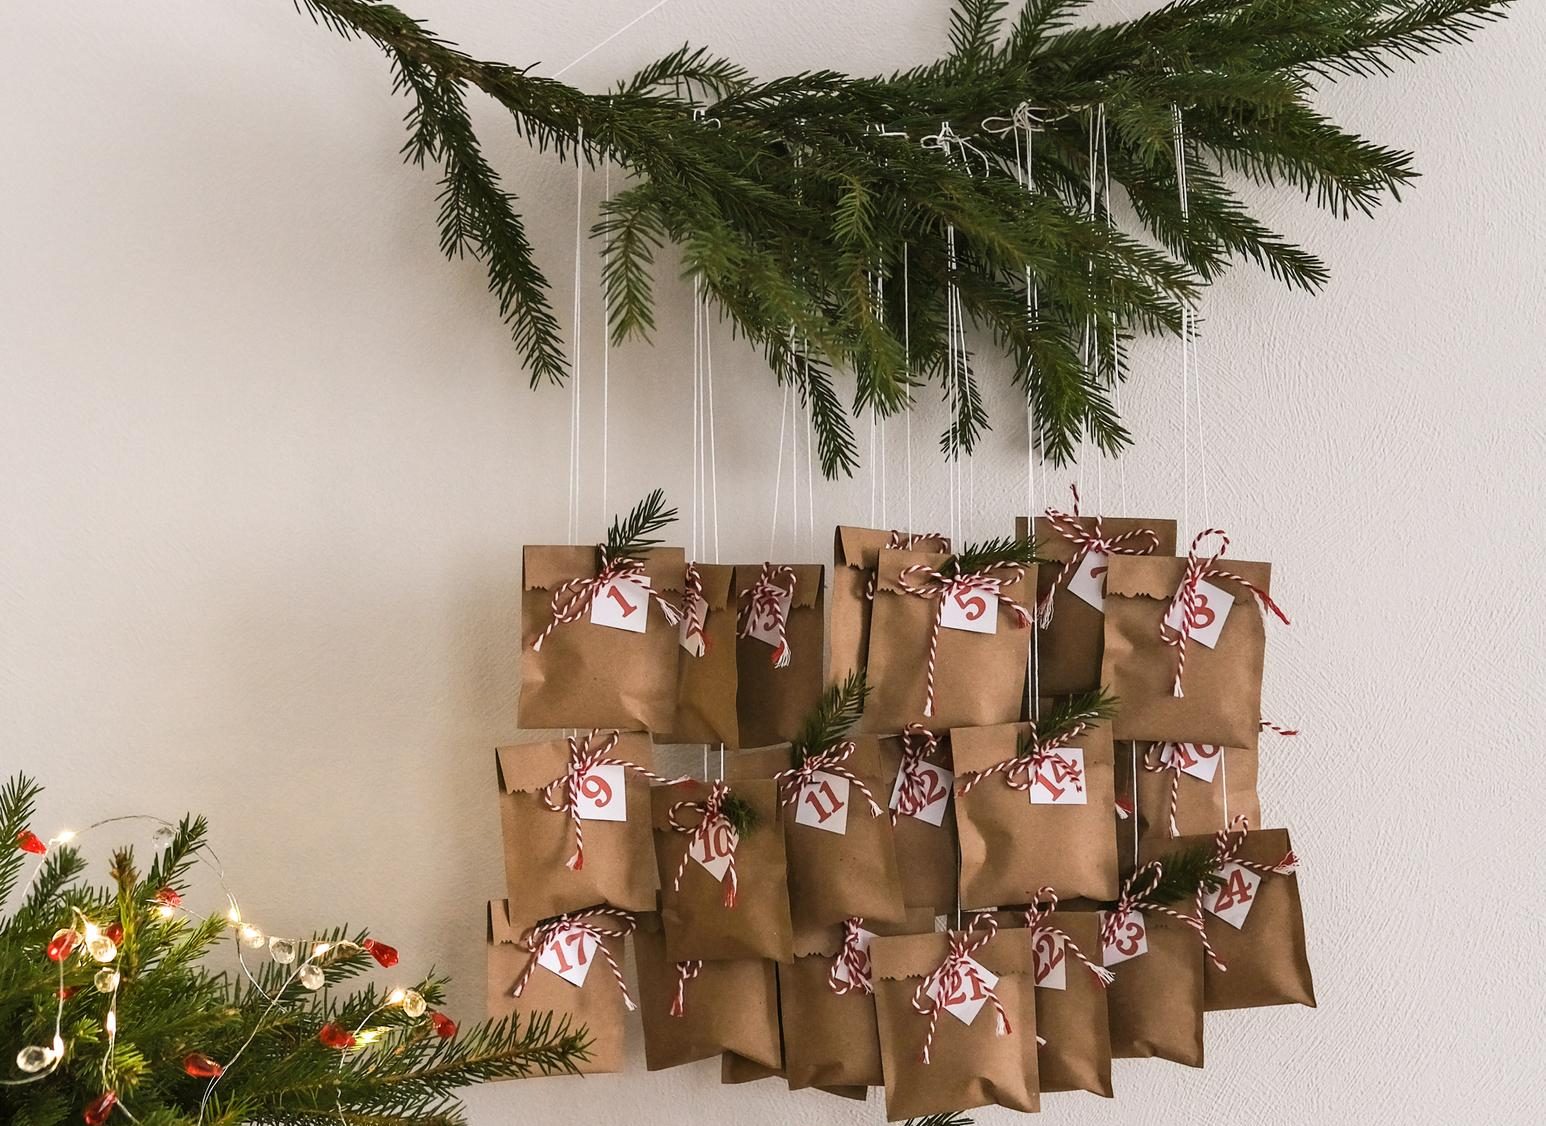
7. Hanging Branch Calendar
Bring the outdoors in with this nature-inspired design that adds rustic charm to your space.
Materials Needed:
- Strong decorative branch
- 24 small containers
- Natural twine
- Greenery
- Weather-resistant tags
Setup Steps:
- Secure branch to wall
- Balance container placement
- Add greenery accents
- Attach number tags
- Test weight distribution

8. Matchbox Treasure Chest
Create tiny treasure chests from matchboxes for a miniature advent adventure.
Materials Needed:
- 24 large matchboxes
- Decorative paper
- Gold paint
Assembly Instructions:
- Remove striker strips
- Cover boxes with paper
- Add ornate details
- Create chest-like openings
- Number creatively
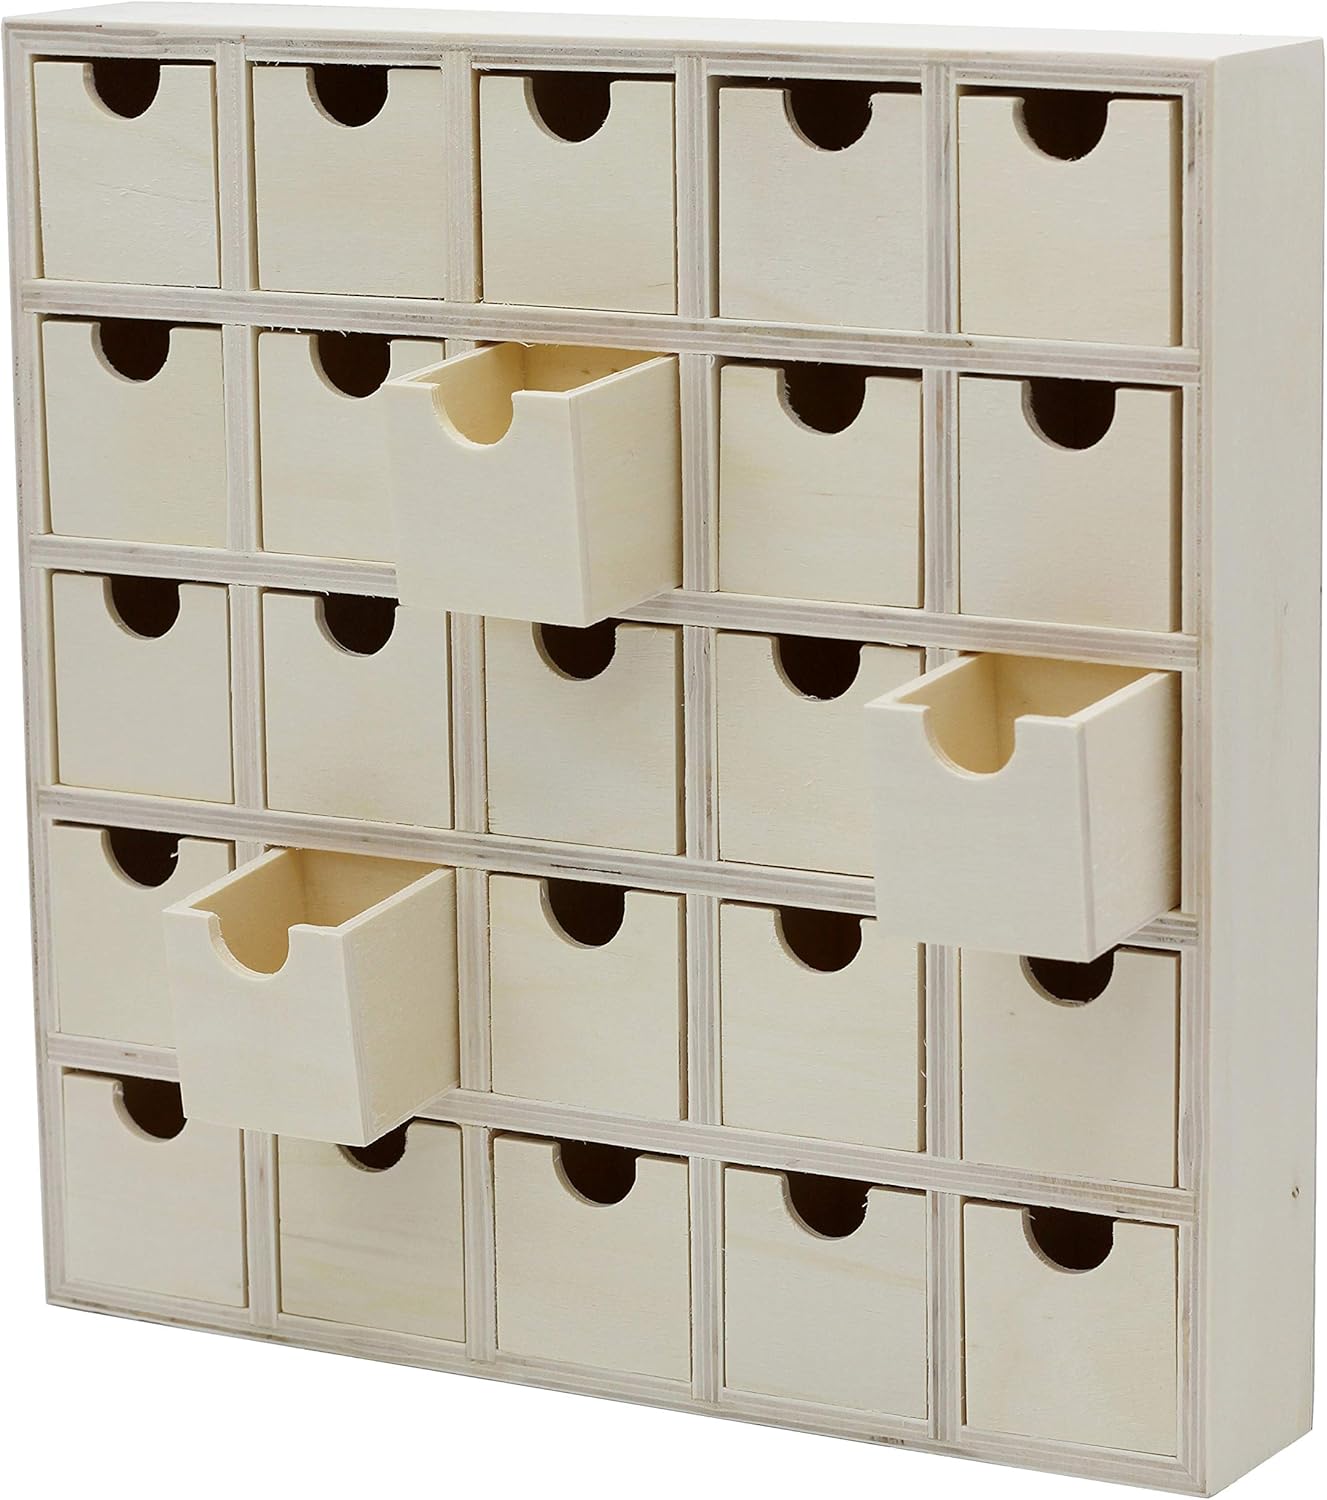
If you want an advent calendar that has the durability to be reused each year there are many options available on the market.
For those who still want to add their own creative touch, blank advent calendars are available to decorate.
Pre-decorated advent calendars are also available for those short on time.
Size Note: Standard matchboxes measure approximately 2×1.5×0.5 inches – perfect for small treats!
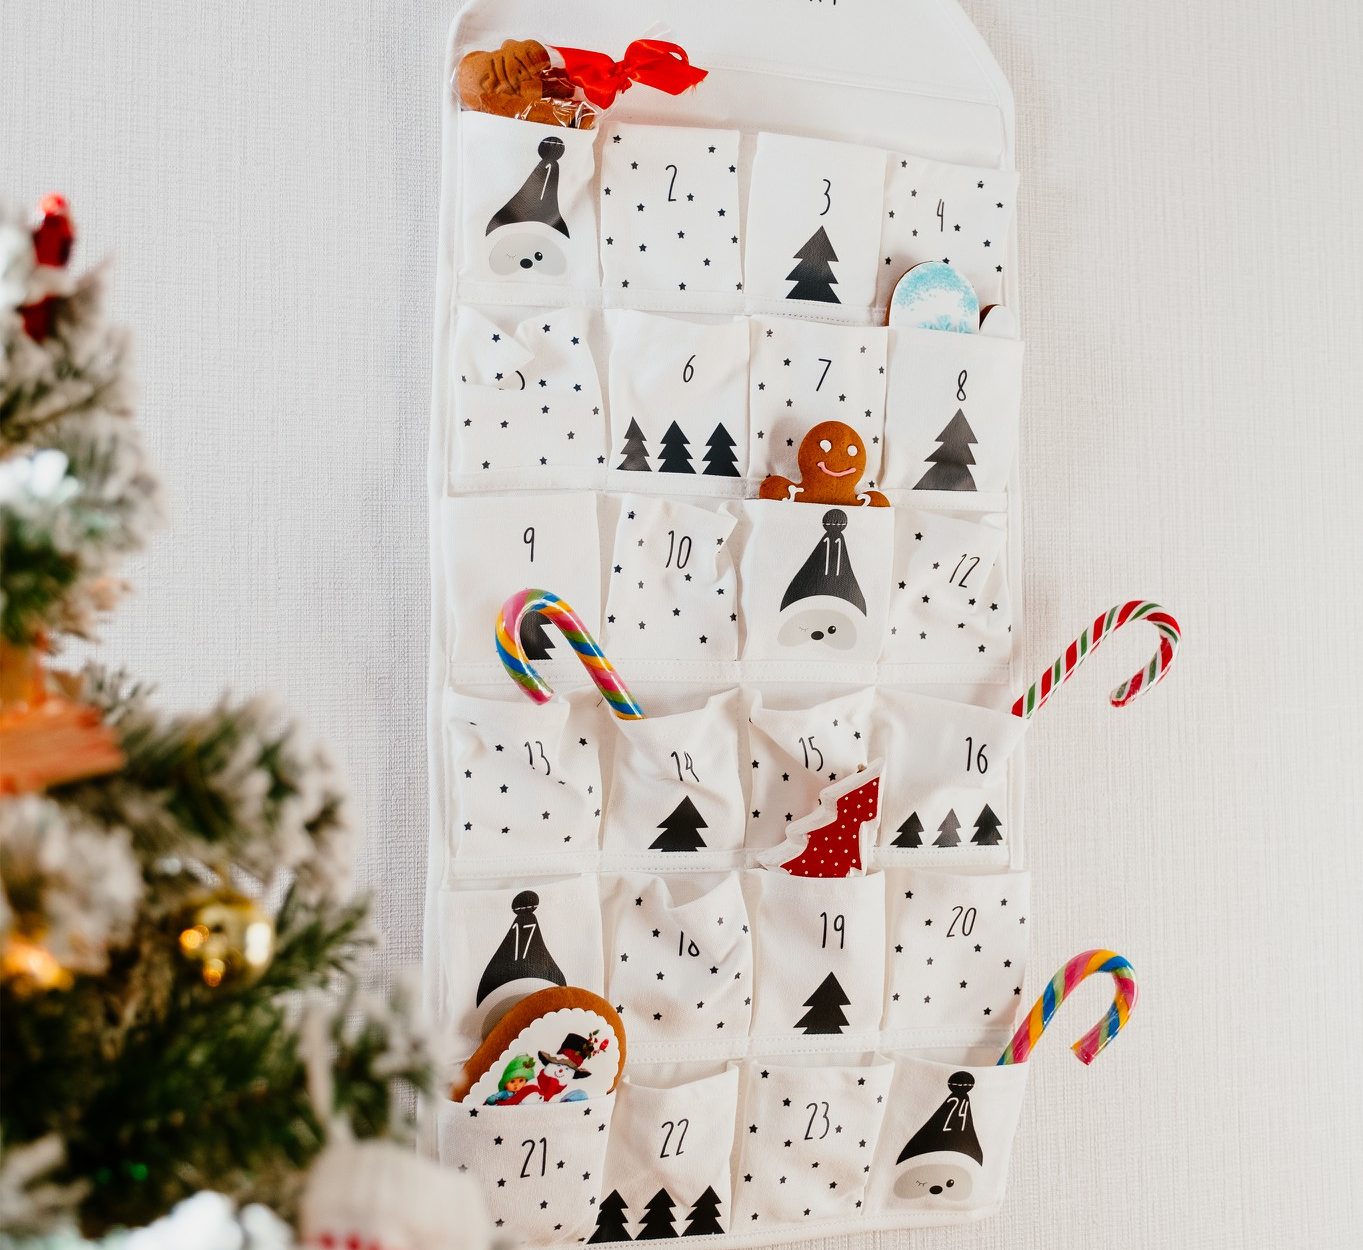
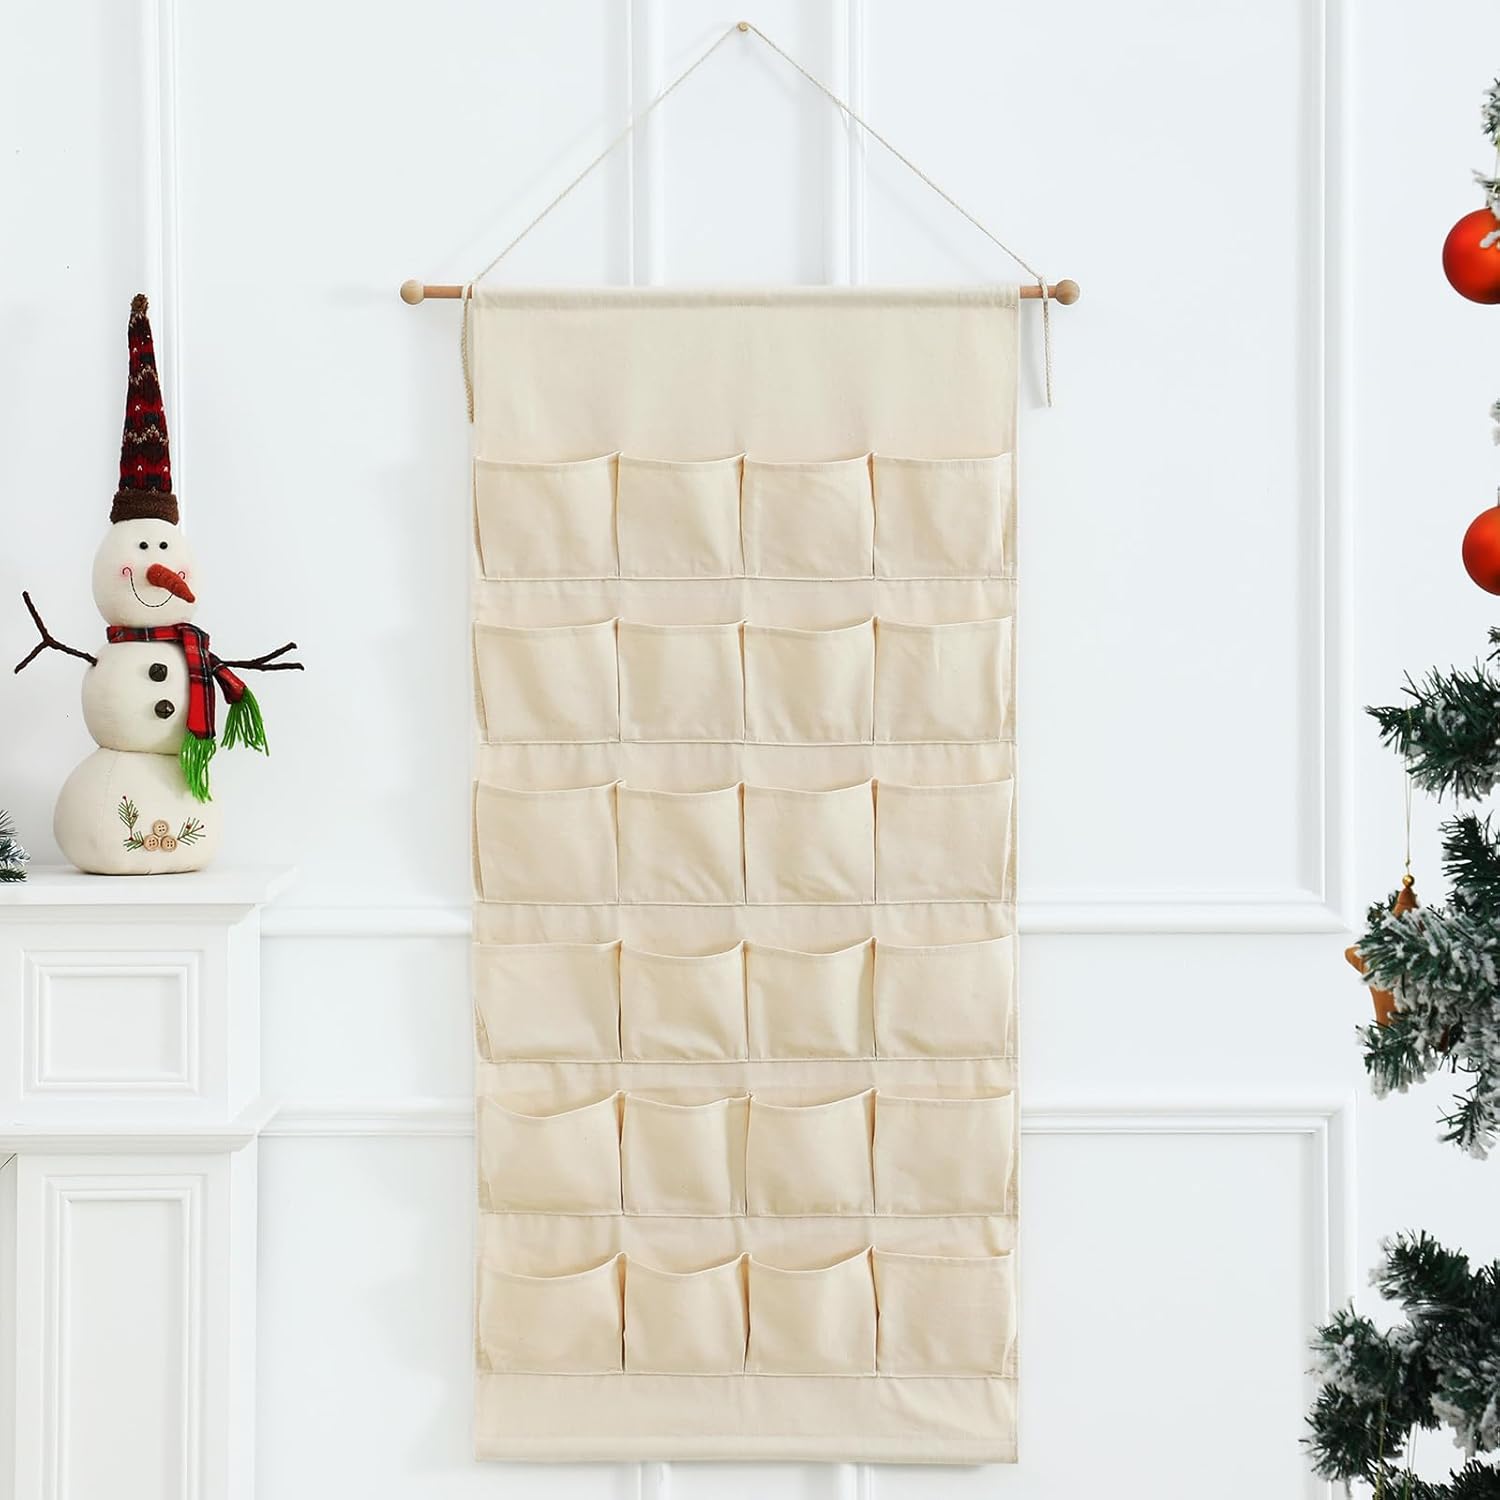
9. Fabric Pocket Wall Hanging
Craft a beautiful textile advent calendar that doubles as holiday décor.
Materials Needed:
- Heavy fabric backing
- 24 fabric squares
- Sewing machine (or fabric glue)
- Ribbon trim
- Embellishments
Construction Method:
- Create pocket template
- Sew/attach pockets
- Add reinforcement
- Decorate edges
- Number pockets
If you like this idea but sewing isn’t your thing, you can purchase a blank pocket advent calendar and spend your time customizing it to your heart’s desire.
No-Sew Option: Use fabric glue and hem tape for a needle-free alternative.
Sustainability Tips
Make your advent calendar eco-friendly and reusable for years to come:
Material Choices
- Use recycled paper and cardboard
- Choose natural fabrics like cotton or linen
- Opt for wooden elements over plastic
- Incorporate found natural materials
Construction Methods
- Create sturdy joints and connections
- Use quality fasteners and adhesives
- Design for easy repairs
- Make parts replaceable
Common Questions and Troubleshooting
Time Management
Q: How long should I allow for making the calendar?
A: Plan for 2-3 weekends, depending on design complexity. Break the project into manageable sessions:
- Weekend 1: Planning and materials
- Weekend 2: Basic construction
- Weekend 3: Decoration and finishing
Material Substitutions
Q: What if I can’t find specific materials?
A: Most materials have alternatives:
- Instead of specialty papers, use gift wrap
- Replace wooden boxes with sturdy cardboard
- Substitute ribbon with twine or cord
- Use digital prints instead of stamps
Remember: The most important element of any advent calendar is the joy and anticipation it brings to your holiday season.
With these guidelines, you’re ready to create a unique, lasting advent calendar that will become a cherished part of your holiday traditions. The time and effort you invest in making it will be rewarded with years of Christmas memories and the satisfaction of creating something truly special.
If you are out of time and would rather purchase your child’s advent calendar this year, please check out our top 50 picks for advent calendars for kids in 2024.




0 Comments